Walkthrough / Quickstart
To get the example up and running without any modifications, you can follow this walkthorugh
- Set up the Edge Computer as described in the vendors documentation (for instance : https://www.raspberrypi.org/
- Open a terminal and navigate to the RIIM MQTT Example folder
- Execute the ./install.sh script - This installs all required dependencies
- Run the ./start.sh script
- Follow the guide for setting up Node RED described in the Node RED Setup chapter
- When the script ends, go to this address using a browser in the raspberry pi : http://localhost:1880/ . If not running the browser from the Raspberry pi, please see the troubleshooting chapter to find the IP address of your edge computer.
- You are up and running. Now you can observe the data, make modifications and play around.
How to observe the output
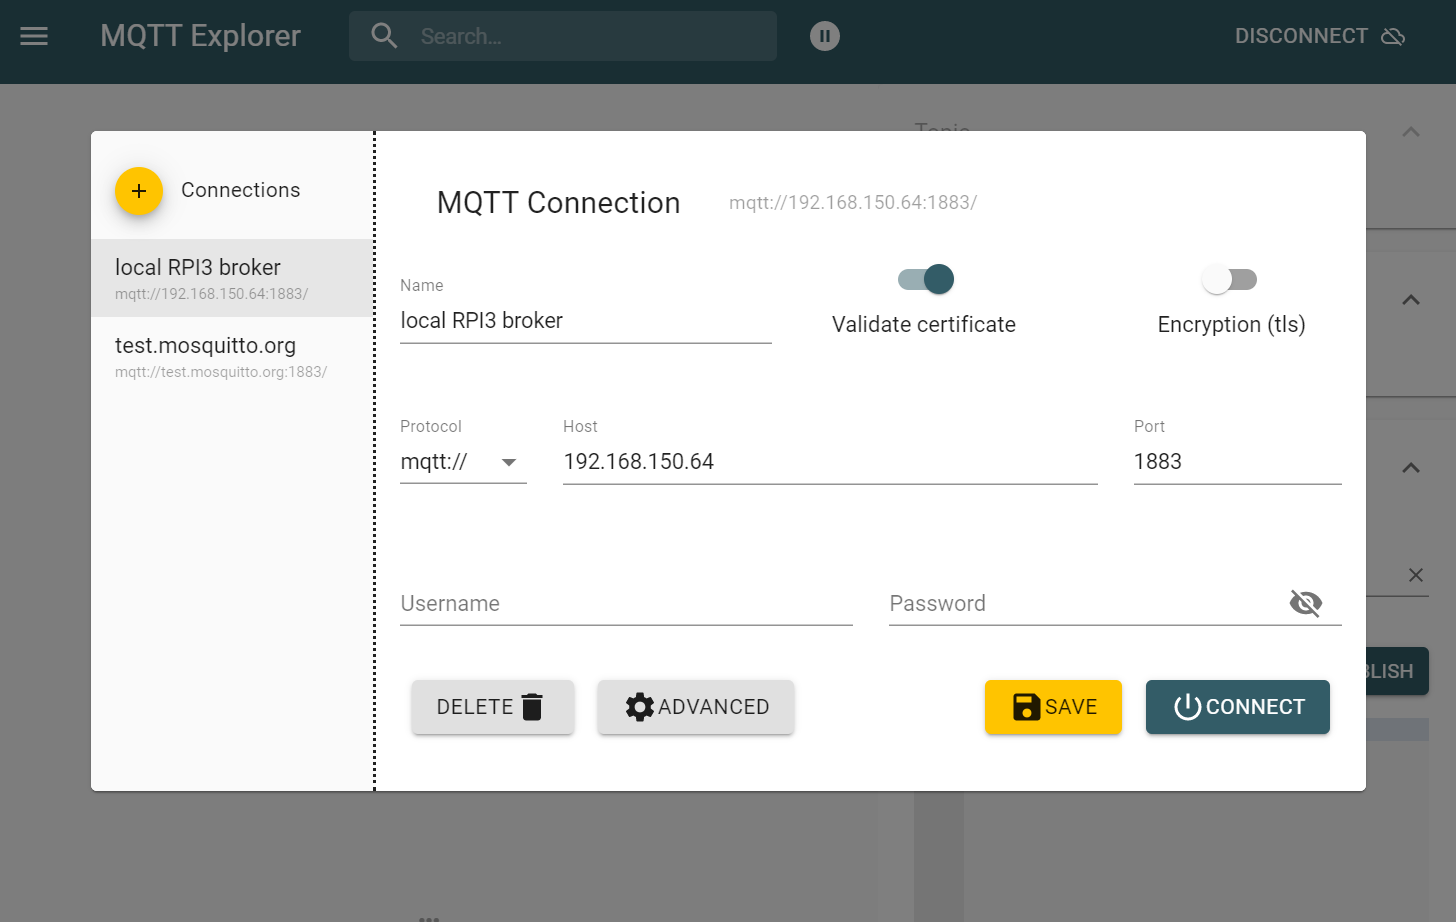
To monitor that the example is running as intended, the easies is to use a simple MQTT client on the same network. One example is the windows program MQTT explorer.(But many options on windows, linux and android/cell phones exists)
Below it is showed how we setup MQTT explorer to connect to local MQTT broker running on RPI3.

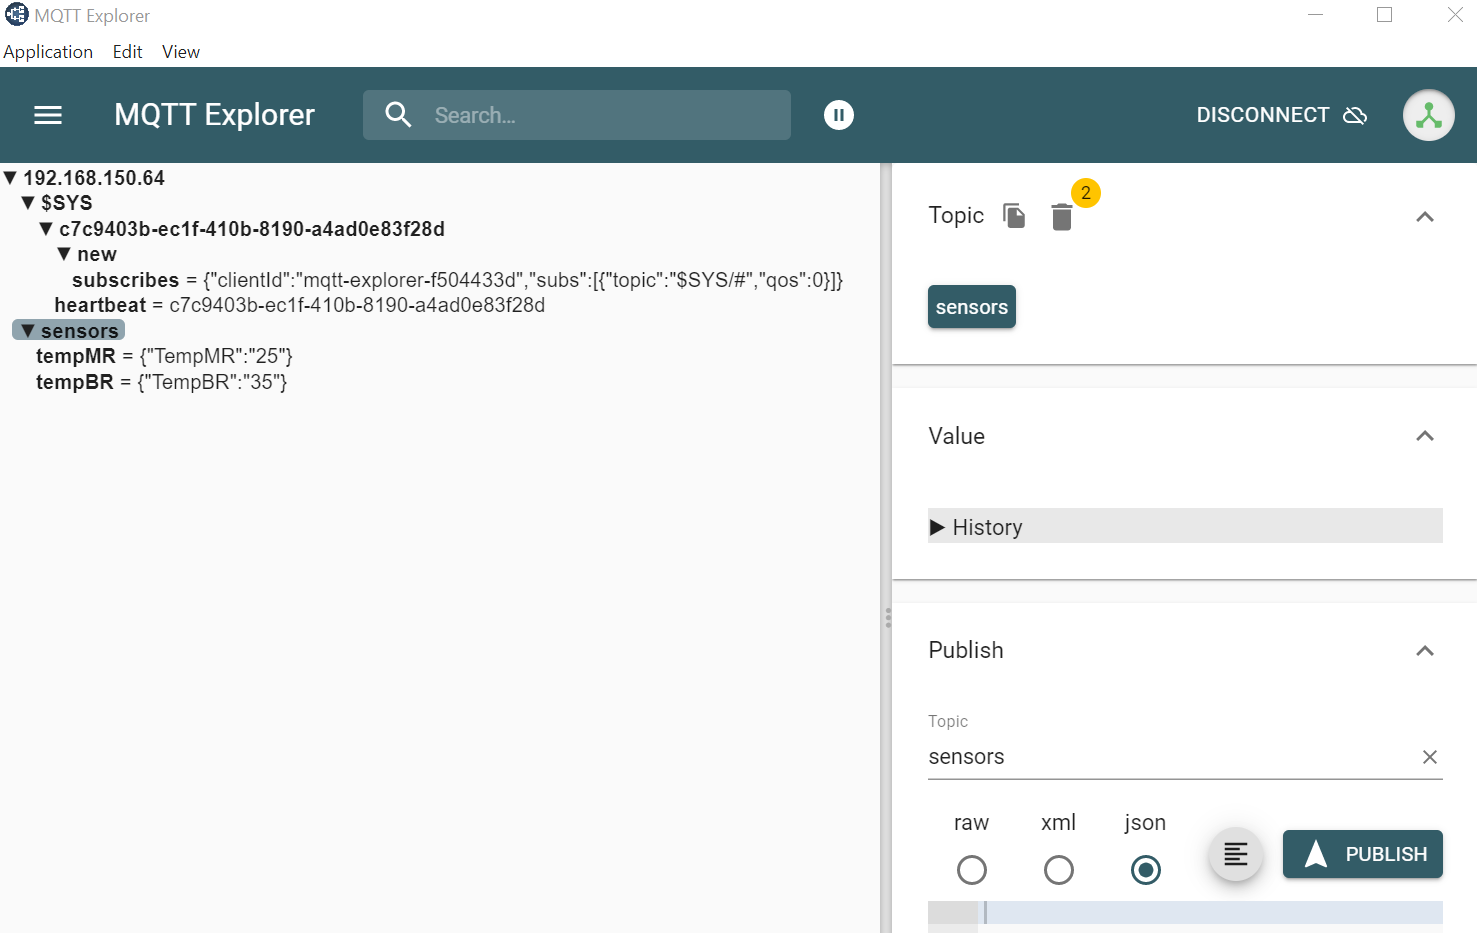
The output after setup is shown below:

Also different debug information is printed to the debug window. This is enable output in Node-RED itself by enabling the green msg nodes and selecting Debug messages. The debug messages are very detailed, so it is recommended to use the console.
Modifications and customization
See the ./install.sh script for details. It is well documented and should give you a good explanation on what is going on. This is a pretty basic example. It can be exdended within Node-RED and added more complex ICI application if needed. The functionality can also be impemented in other tool and the use of Mosquitto as a MQTT broker is a popular choice.